
Research Log: Page 46
Extracted posts from the KLOV Big Blue thread. View original page 46 on KLOV ↗
Post #901 — acblunden2, Apr 10, 2019
- Zero238 said: I checked 6 gen 1 big blues.
- 1 had 3-Koam sticker with a sticker that read KC - 6587 Manufactured by Capcom U.S.A
- 2 had the white game label with one having produced by dynamo corp while the other is non-reeadable.
- 1 had Namco stickers on it Click to expand…
Serial/tag references:
gen 1— Zero238 said: I checked 6 gen 1 big blues. 1 had 3-Koam sticker with a sticker that read …
Post #902 — 90s_kadefan, Apr 13, 2019
- Gen 1 big blue control panel
- Does anyone here knows where I can get a first gen big blue control panel? Any info. would be appreciated.
Serial/tag references:
Gen 1— Gen 1 big blue control panel Does anyone here knows where I can …
Post #903 — DuffCon, Apr 13, 2019
- 90s_kadefan said: Does anyone here knows where I can get a first gen big blue control panel? Any info. would be appreciated. Click to expand…
Post #904 — Ryu21, Apr 13, 2019
- 90s_kadefan said: Does anyone here knows where I can get a first gen big blue control panel? Any info. would be appreciated. Click to expand…
Post #905 — TravistyOJ, Apr 13, 2019
- AFAIK Boostin has all he needs to repro them, he borrowed mine and sent it back.
Post #906 — vatkru, Apr 13, 2019
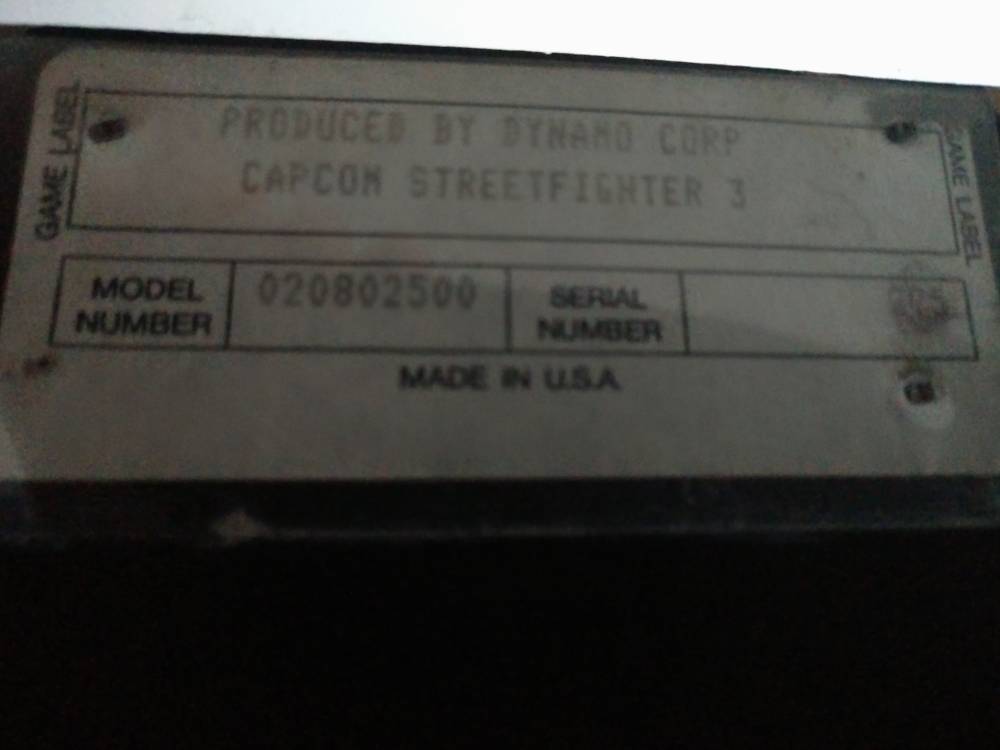
- Dynamo Corp { “lightbox_close”: “Close”, “lightbox_next”: “Next”, “lightbox_previous”: “Previous”, “lightbox_error”: “The requested content cannot be loaded. Please try again later.”, “lightbox_start_slideshow”: “Start slideshow”, “lightbox_stop_slideshow”: “Stop slideshow”, “lightbox_full_screen”: “Full screen”, “lightbox_thumbnails”: “Thumbnails”, “lightbox_download”: “Download”, “lightbox_share”: “Share”, “lightbox_zoom”: “Zoom”, “lightbox_new_window”: “New window”, “lightbox_toggle_sidebar”: “Toggle sidebar” }
Images:
Post #907 — acblunden2, Apr 13, 2019
- TravistyOJ said: AFAIK Boostin has all he needs to repro them, he borrowed mine and sent it back. Click to expand…
Post #908 — ctozzi, Jul 3, 2019
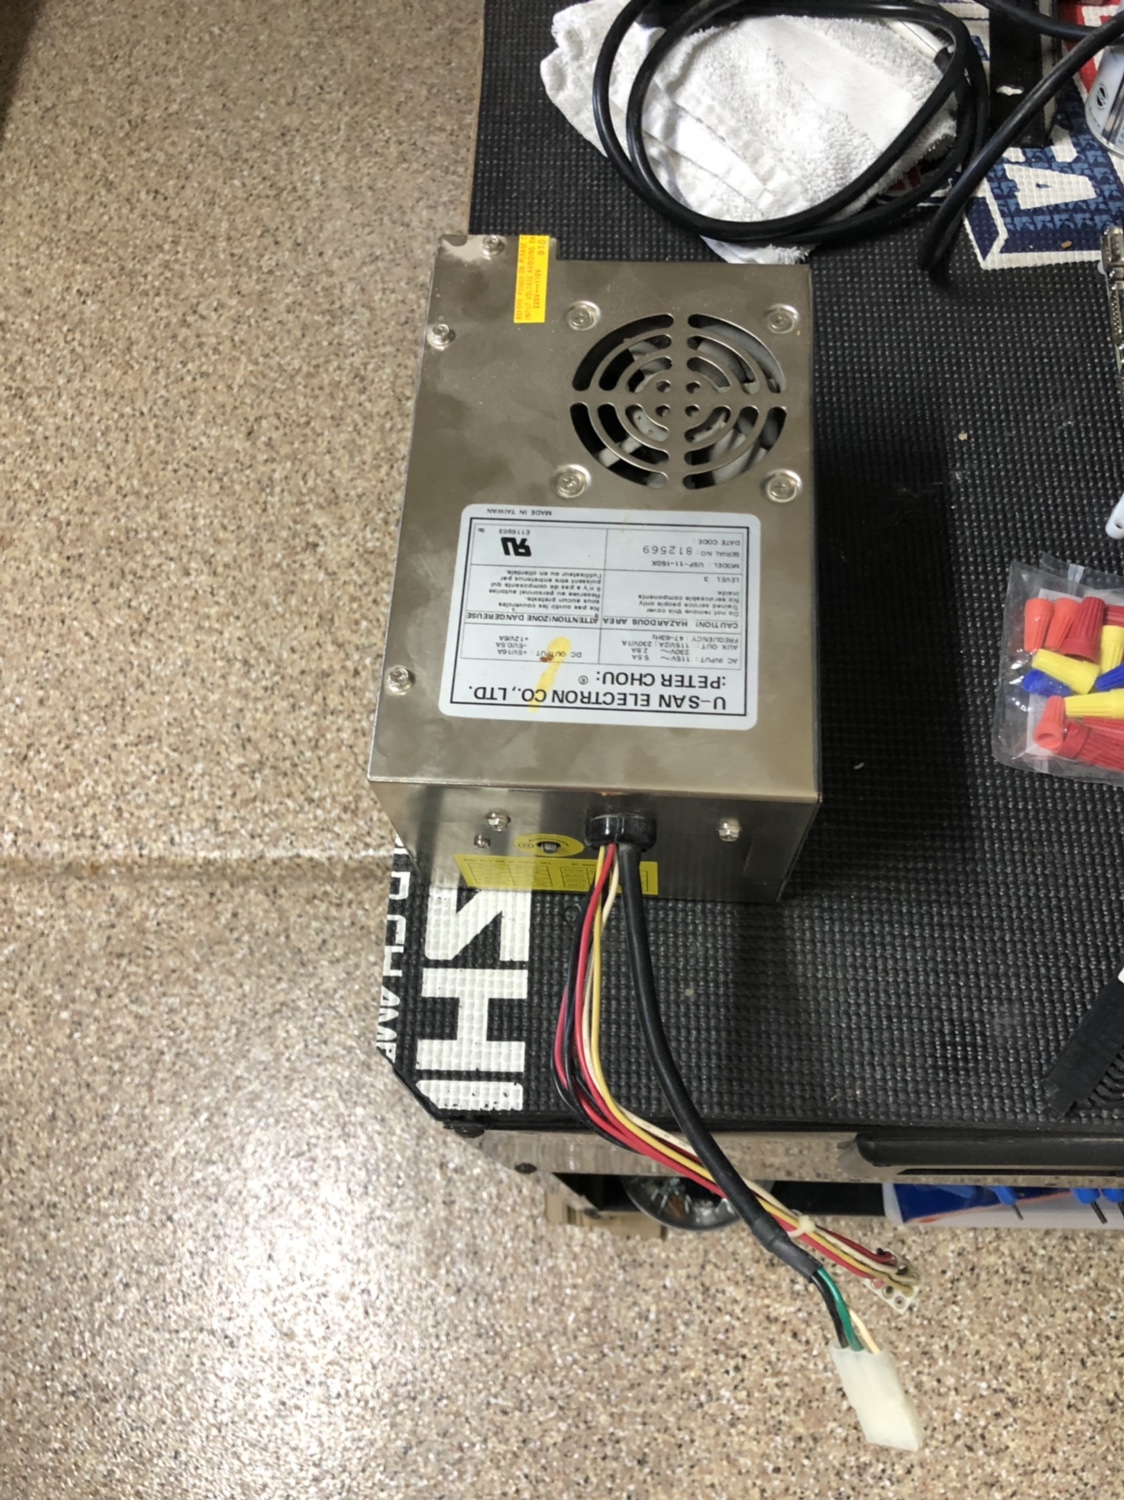
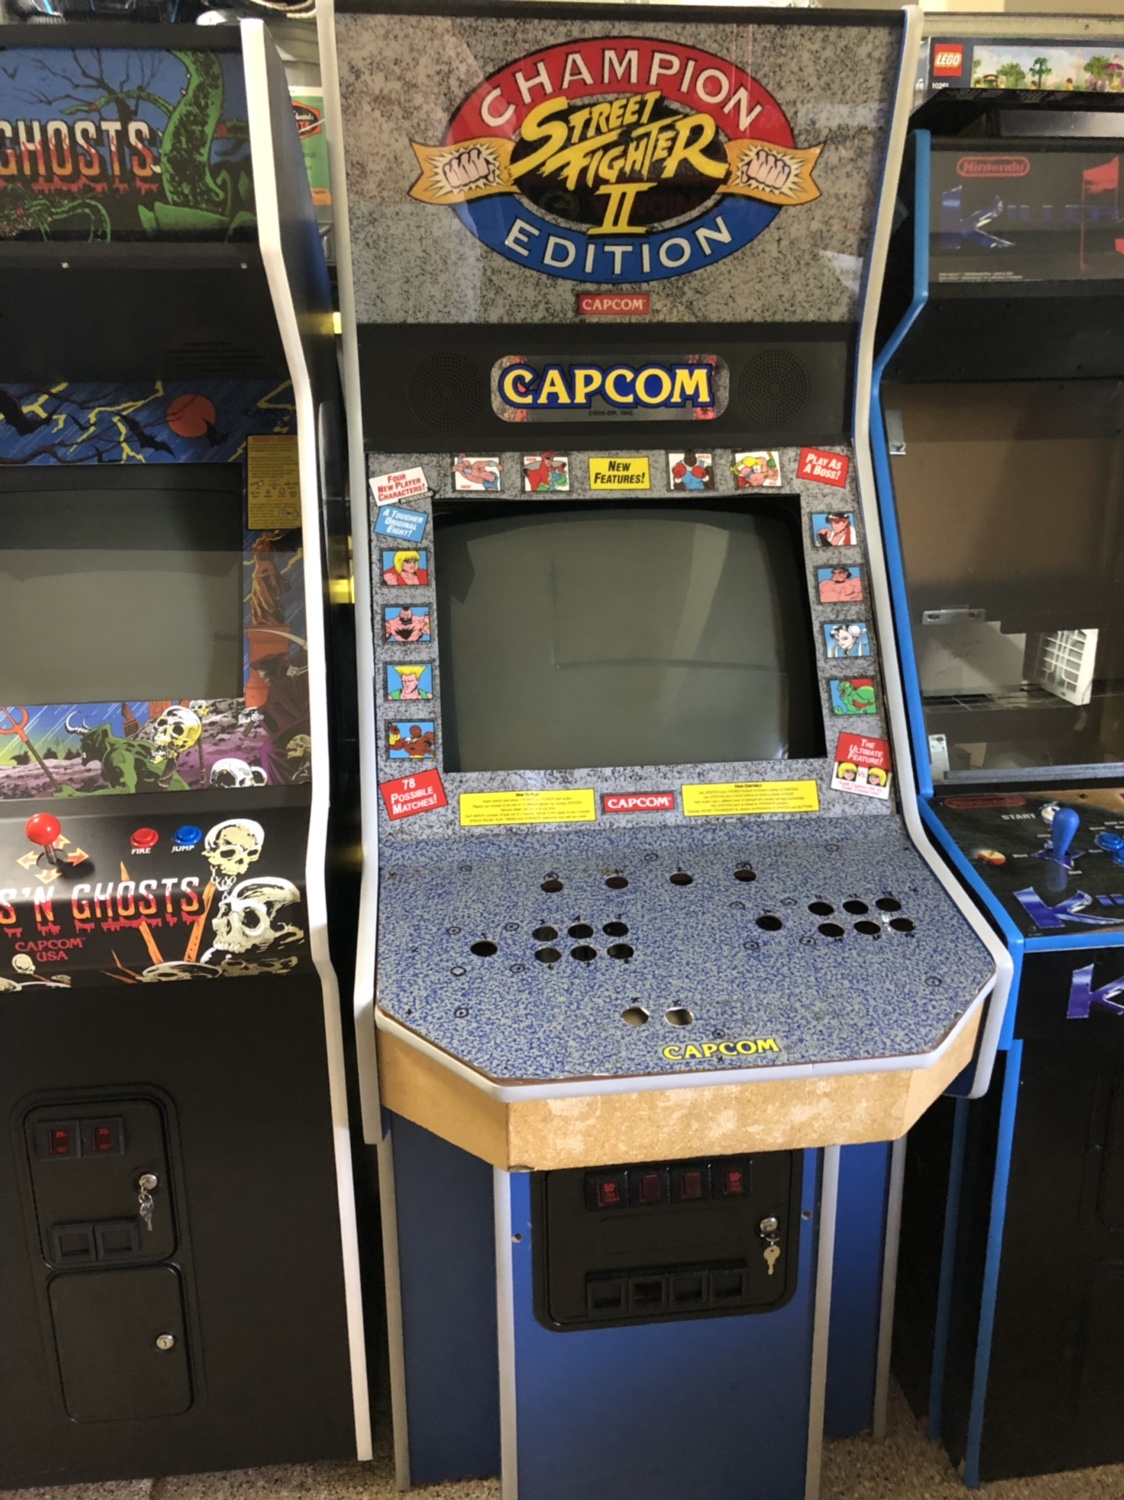
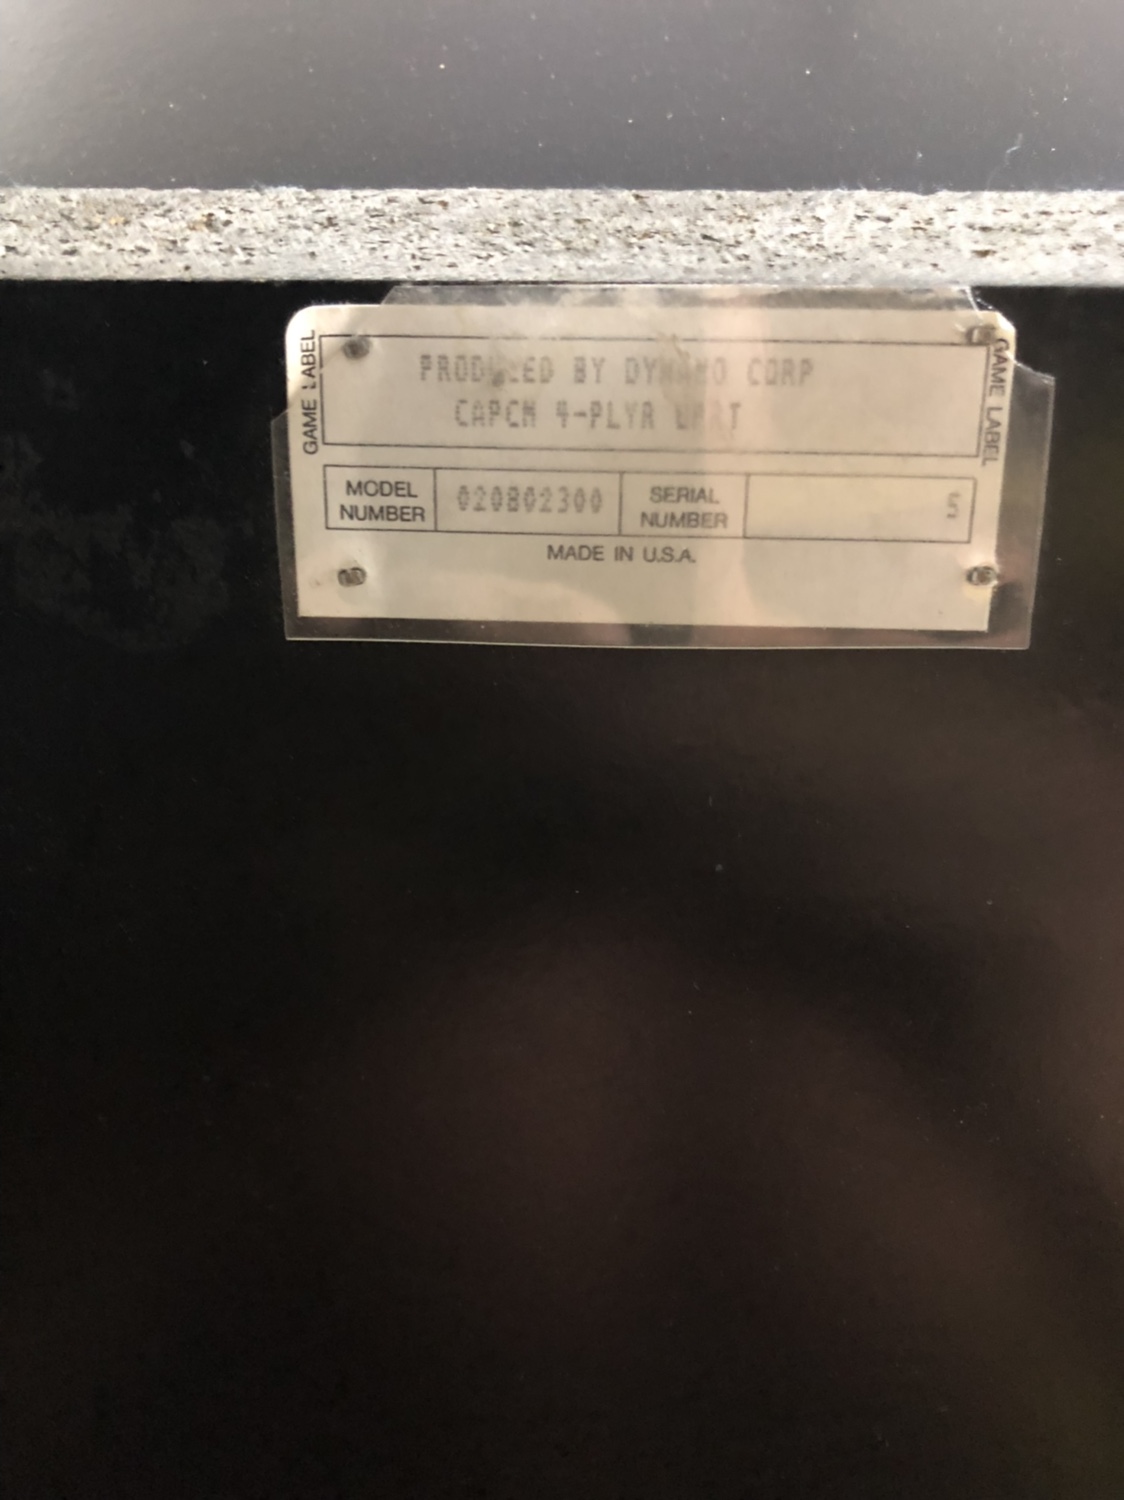
- I’m going to start restoring this one for my collection. Here’s a few pics to help identify this cabinet. I’m guessing it was a 4 player game as the serial number sticker states that, pretty cool that its #5. I as well have been waiting for boostin to remake the panels. This one has all the holes I need but they are not level on each side and looks horrible. I’m going to make this a SF2CE anniversary version since I have the board and really miss my other one I sold years ago. The power supply is toast as well so I’m looking to replace or rebuild this to ensure the cabinet gets appropriate power distribution.
Images:
Post #909 — sosage, Jul 3, 2019
- Nice. I bet it was a Captain Commando.
- Those types of power supplies tend to run a fuse, and I’ve had some good luck replacing them. Crack it open and check.
Post #910 — ctozzi, Jul 3, 2019
- No luck on the fuse
Post #911 — acblunden2, Jul 4, 2019
- Peter Chou’s are great and easy to repair. Don’t toss it out whatever you do.
- Nice cab. Looks like it is vinyl wrapped instead of blue laminate? Clearly made by Dynamo too.
Post #912 — Ryu21, Aug 17, 2019
- acblunden2 said: Been close to two years now waiting for boostin4hp to produce these. Don’t hold your breath on this one. Click to expand…
Post #913 — ctozzi, Aug 17, 2019
- Lmk if you do it I’ll help pay
Post #914 — acblunden2, Aug 17, 2019
- I’ve been thinking how to make these panels with simple tools. The only difficulty is the metal brake needed to bend the two folds that butte up against the bezel glass. Everything else can be done quite easily with inexpensive tools.
- Metal nibbler to cut the shape Clamps to clamp straight edges to guide the nibbler Forstner bits for the holes or sheet metal punches Flame torch to solder in threaded posts Metal file to dull the edges
- The other option is to make the panel out of wood. If making it out of wood, the hard parts are the lip that buttes up against the bezel glass and a joystick mount/cradle so you can recess the joysticks into the panel so as to not lose too much joystick height.
- If it ever gets to the point where I am desperate, I am going the wood route and will either skip the lip that buttes up against the glass, or figure out a solution with molding.
- If you have a swiss-cheesed panel, repair it. Get a blow torch, pipe solder, and make some hole covers and solder them in. Once done, punch out new holes.
Post #915 — Ryu21, Aug 19, 2019
- acblunden2 said: If you have a swiss-cheesed panel, repair it. Get a blow torch, pipe solder, and make some hole covers and solder them in. Once done, punch out new holes. Click to expand…
Post #916 — acblunden2, Aug 20, 2019
- Ryu21 said: Mine is swiss cheese. Is it possible to fill in the holes and make it flat and flush again? Click to expand…
Post #917 — DuffCon, Aug 20, 2019
- I believe conduit used in electrical work have knock out panels that are close in size to button holes. I bet If you know someone In that line of work you can get some. Also if you go to Lowe’s/depot they sell sheet metal panels in the welding supply counter of the same gauge that the control panel is. I think it’s 18, but don’t hold me to that. You can get piece of that and cut your patches.
Post #918 — SillyB, Aug 20, 2019
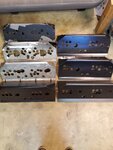
- I take a different slightly route for fixing up my panels. I take a sheet of metal and drill out my own knockouts using a bi-metal hole saw bit on a drill. I tape the discs in the holes that need to be filled and apply JB Weld with a putty knife on the back of it. After it dries there is minimal sanding or shaping on the front since the masking tape keeps the JB weld flat. A thin layer surrounding the hole and the patch on the underneath gives it enough to hold on to. If you are careful with the putty knife you don’t even need to sand the inside. I’ve recently been doing every spare Dynamo panel I have and they’ve come out great. You can hardly tell which ones were factory stamped for 6 button layouts and which were patched up after conversions.
Images:
Post #919 — acblunden2, Aug 20, 2019
- Yeap. Lot’s of ways you can do it. I think cheapest is best when you have swissed-up button holes. Me, I have to get rid of a stupid Golden Tee track ball on mine :{.
- JB Weld sounds like a damn good idea. Don’t overthink it. If you do it right, you’ll never have to look under your CP, ever.